Bedroom Wall Panelling Ideas: 7 Real Looks With Measurements
Seven ways to panel a bedroom wall, each shown on a real room as a before and after. Drag the slider on any photo to compare. Every look comes with the rules that make it work and a free template that applies the layout to your own wall size, working out the exact panel widths, heights, and cut list, so you leave with a plan rather than just a mood board.
1. Tall shaker panelling behind the bed
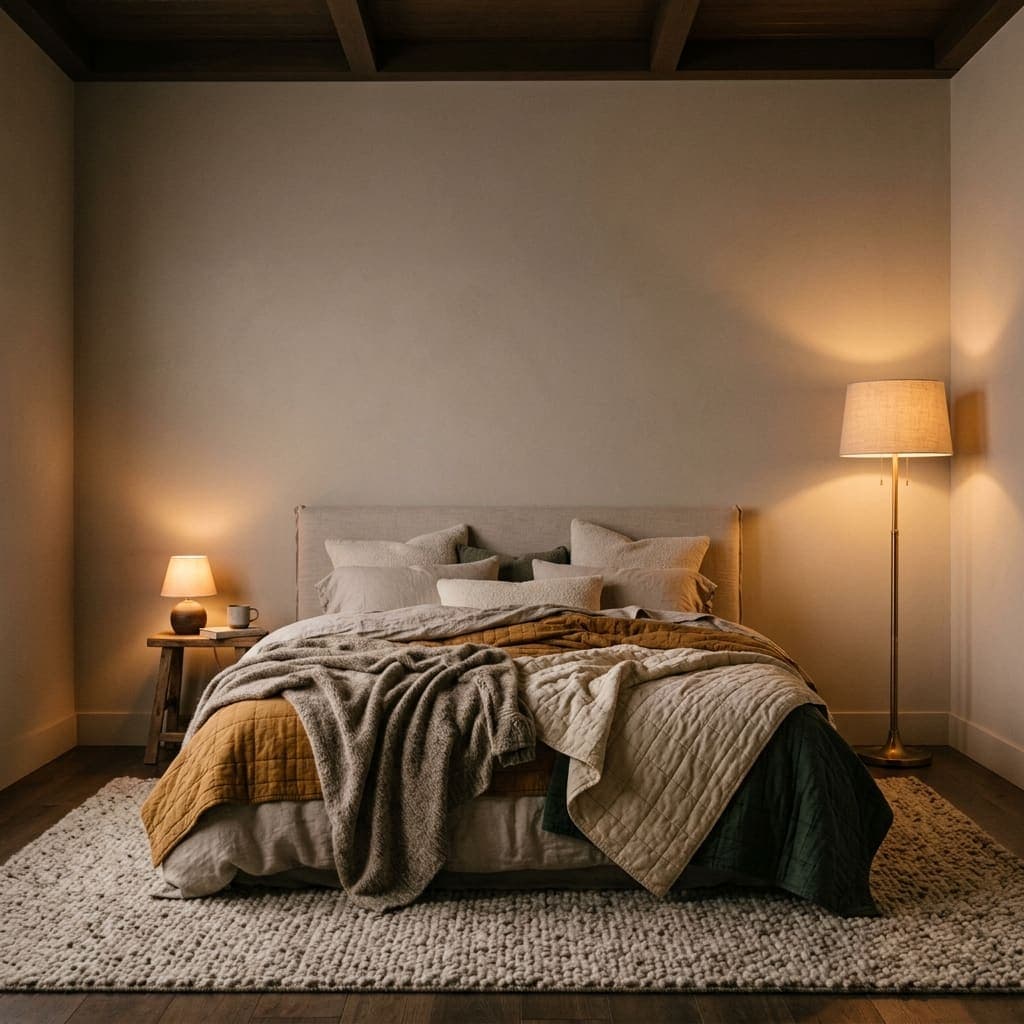
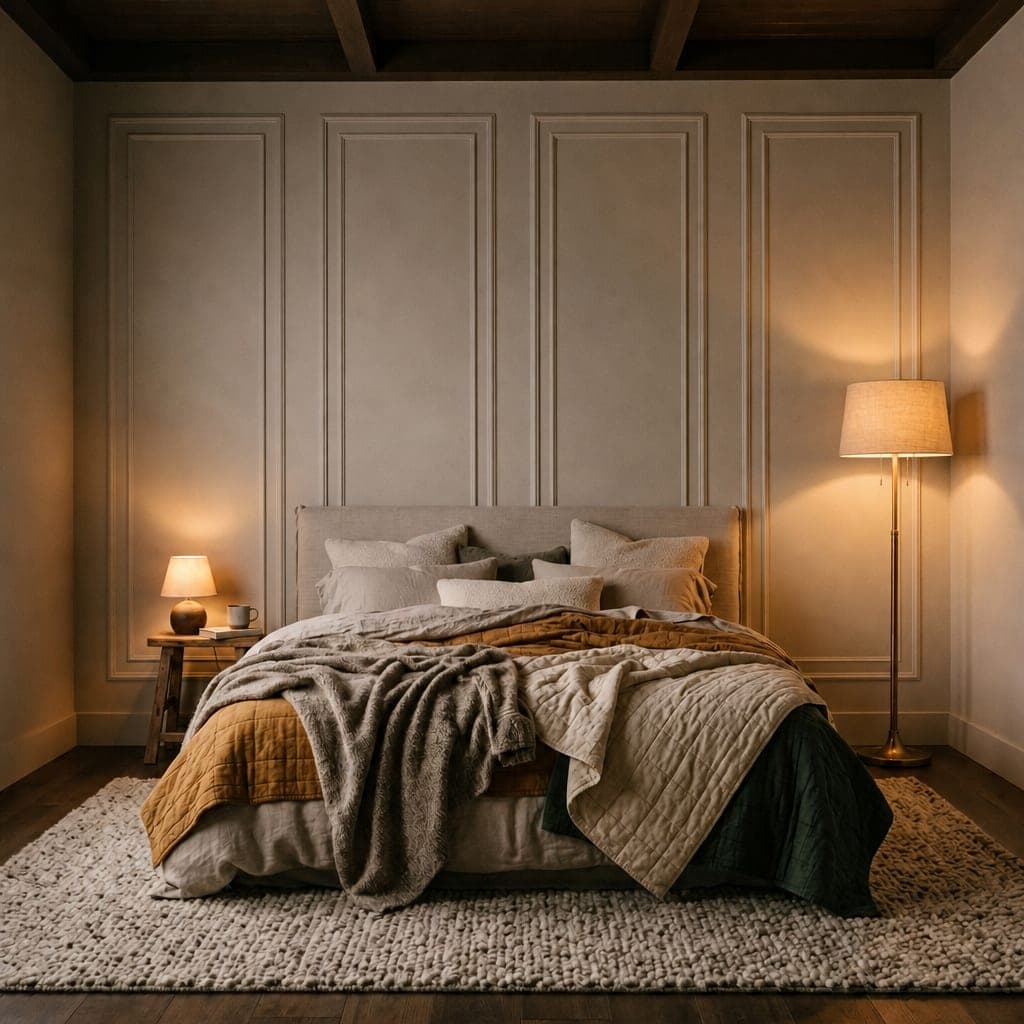
The most reliable bedroom panelling look there is. Four tall shaker panels turn the wall behind the bed into a quiet, ordered backdrop, and because the frames run full height, they make a standard 2.4m ceiling feel taller than it is. Keeping wall and panels the same colour is what makes this feel calm rather than busy: the moulding reads as texture, not decoration.
It works especially well in warm neutrals like the taupe here, where evening lamplight catches the edges of each frame. Centre the layout on the bed rather than the wall if the two differ, and let a panel edge, not a gap, land behind each bedside table.
2. Half-height panelling with a bare wall above
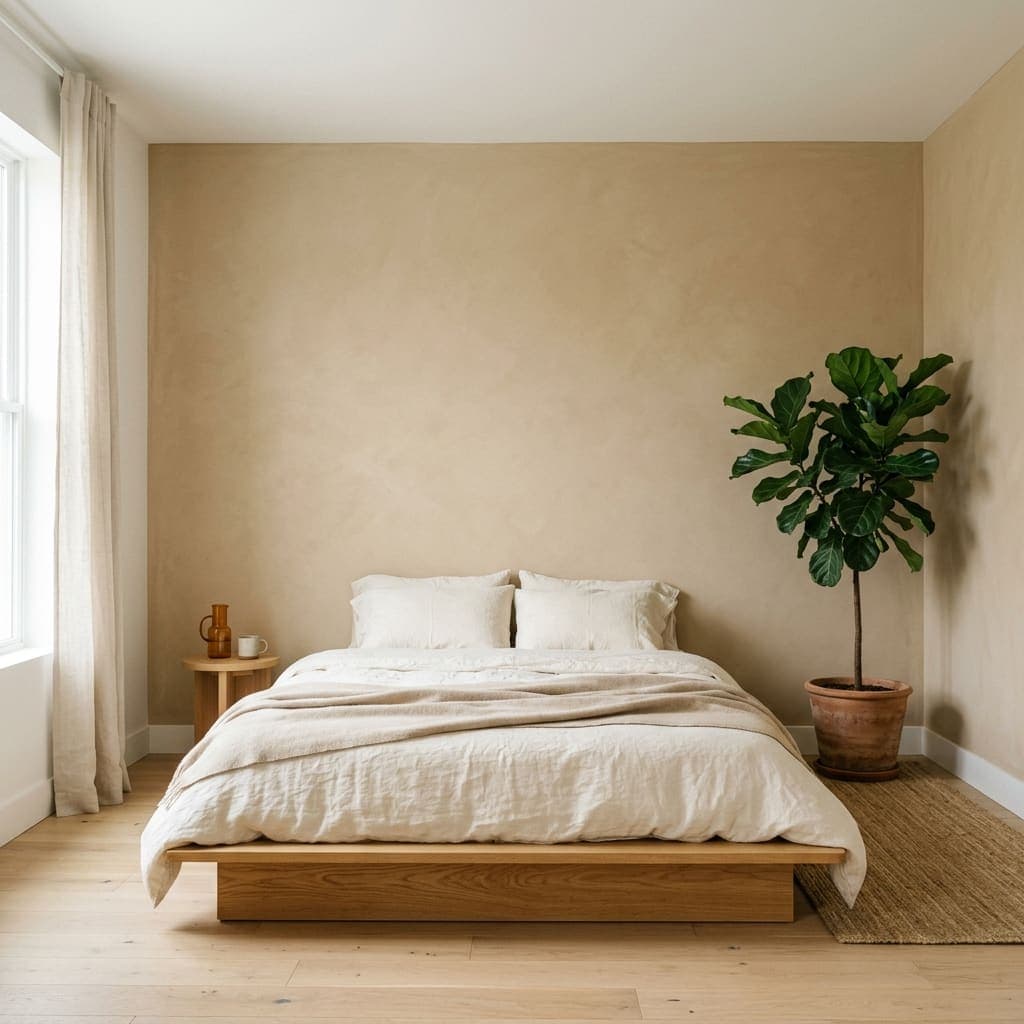
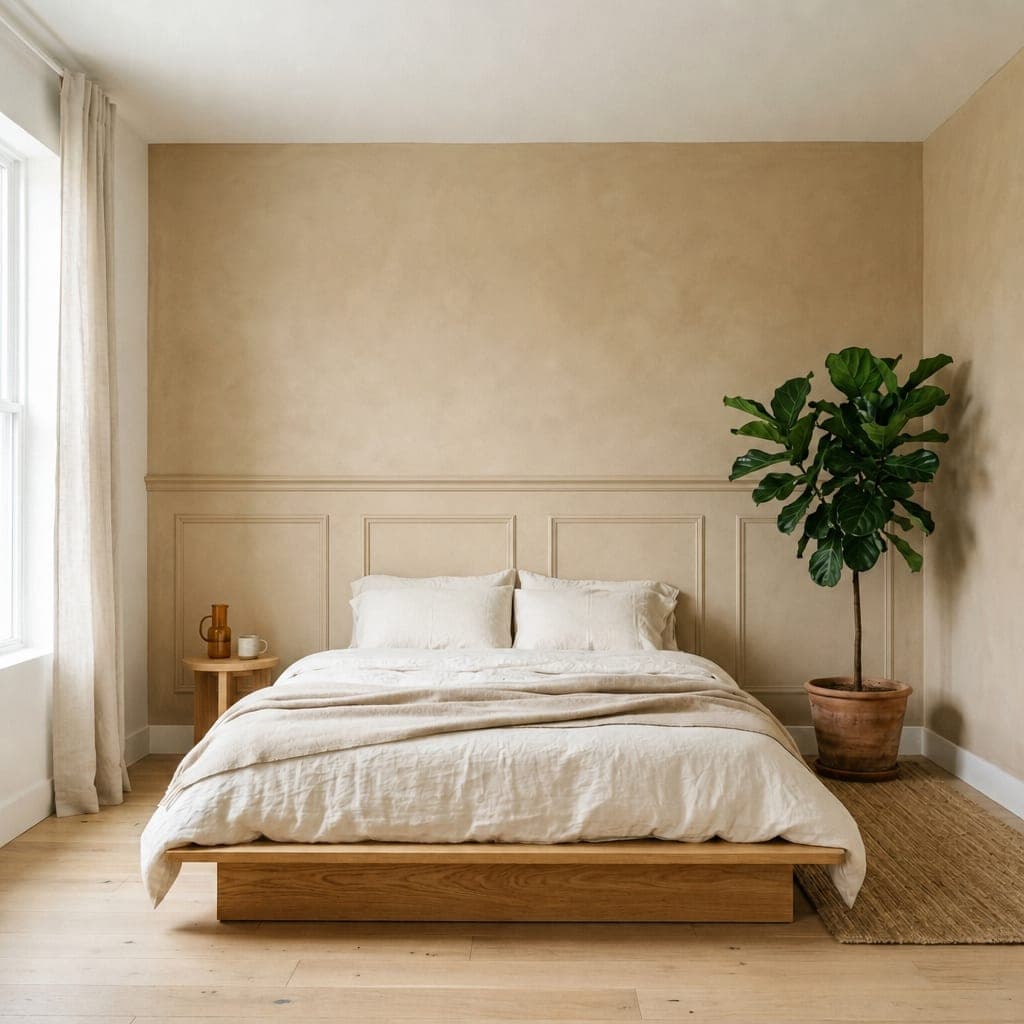
If a full wall of panelling feels like too much commitment, stop at headboard height. A low run of panels with a simple top rail grounds the bed, protects the wall where pillows and headboards actually touch it, and leaves the upper wall free for the plaster, paint, or art to breathe.
The trick is the height. Aim for the rail to clear the headboard by a hand's width, usually 1000 to 1200mm from the floor. Too low and the bed swallows the panelling; too high and the wall splits into two awkward halves. This is the easiest of the seven looks to build, and the most forgiving in a small room.
3. Two-tier panelling split by a dado rail
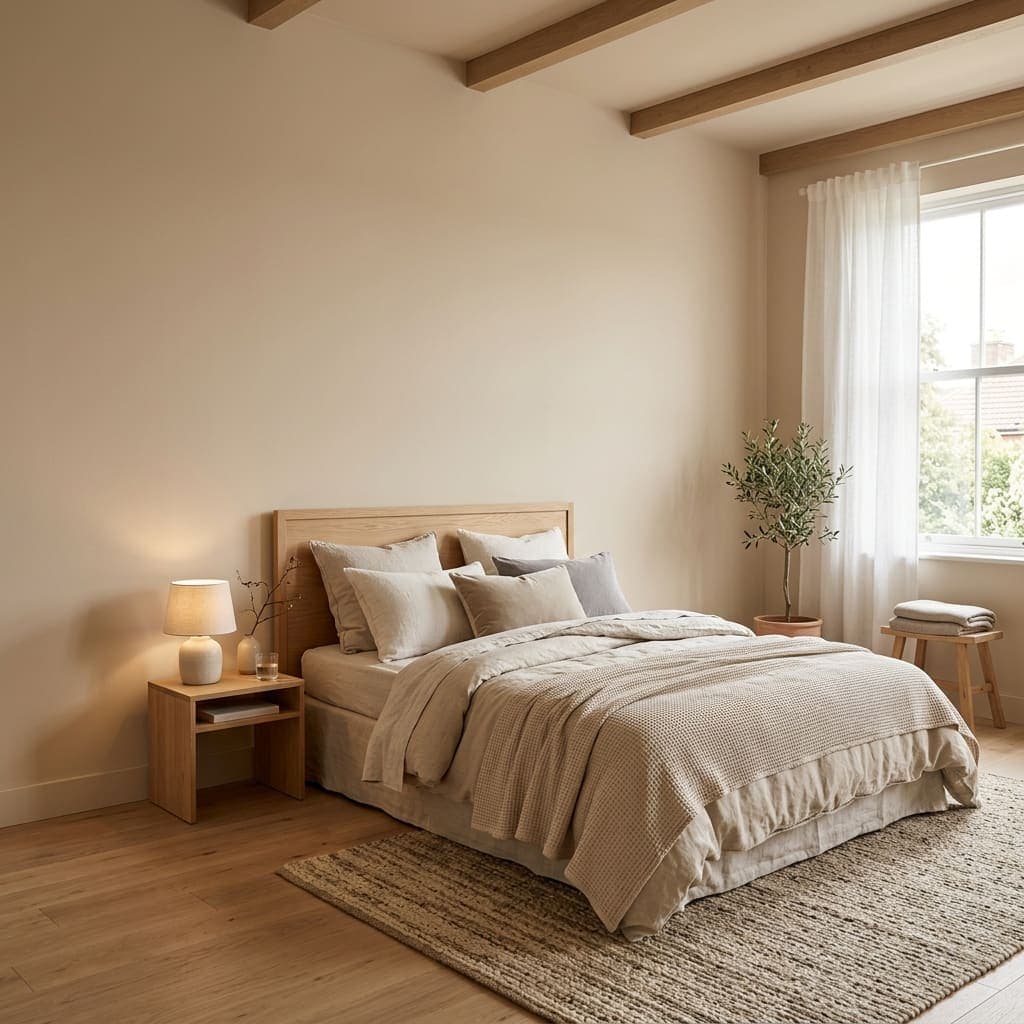
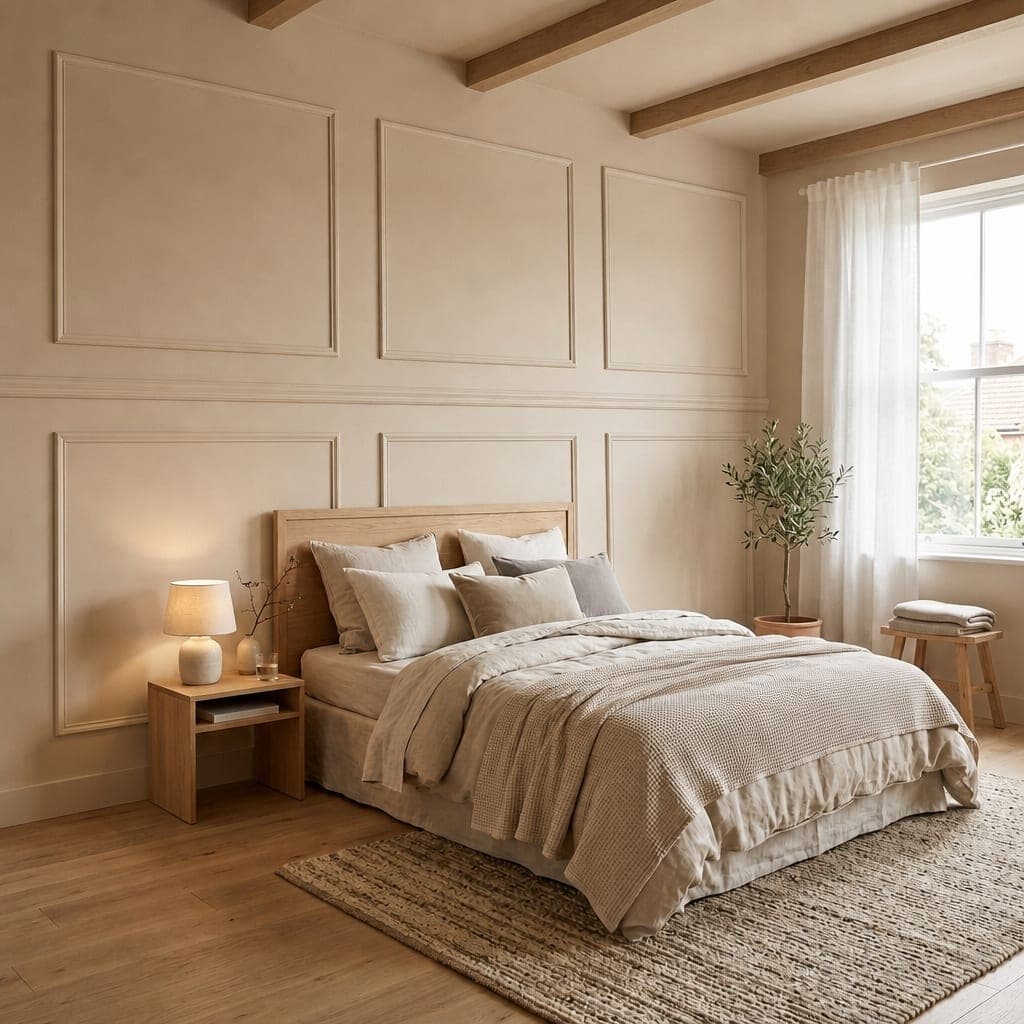
The full-wall version of the traditional approach: panels above and below a dado rail, in one colour, floor to ceiling. Where the half-height look leaves the top of the wall bare, this one commits, and the reward is a room that feels properly finished, like it was always meant to have panelling.
It suits period homes and cottages best, and it is very tolerant of uneven walls and wonky ceilings because the rail gives the eye a straight line to trust. Keep everything one soft colour, as here, and the beams, linen, and timber do the decorating.
4. A soft grey grid for a Scandi bedroom
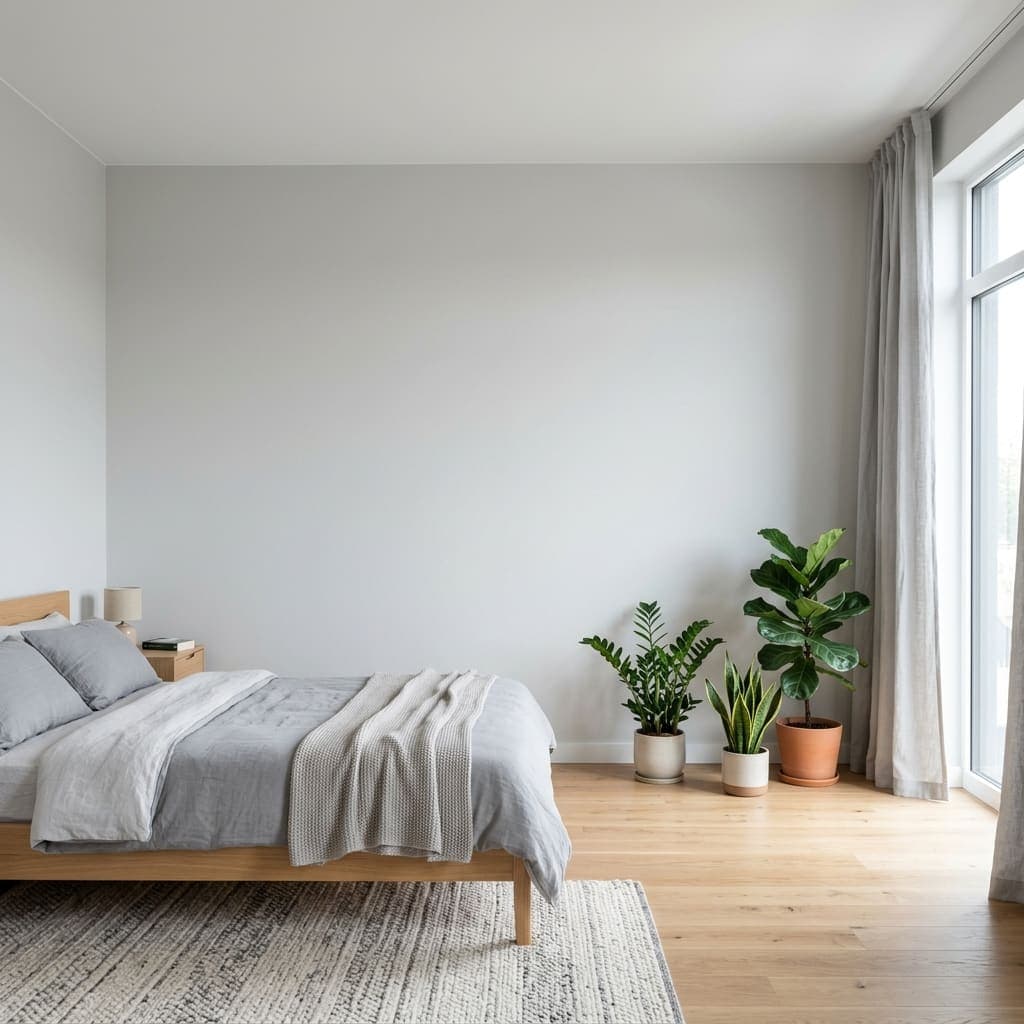
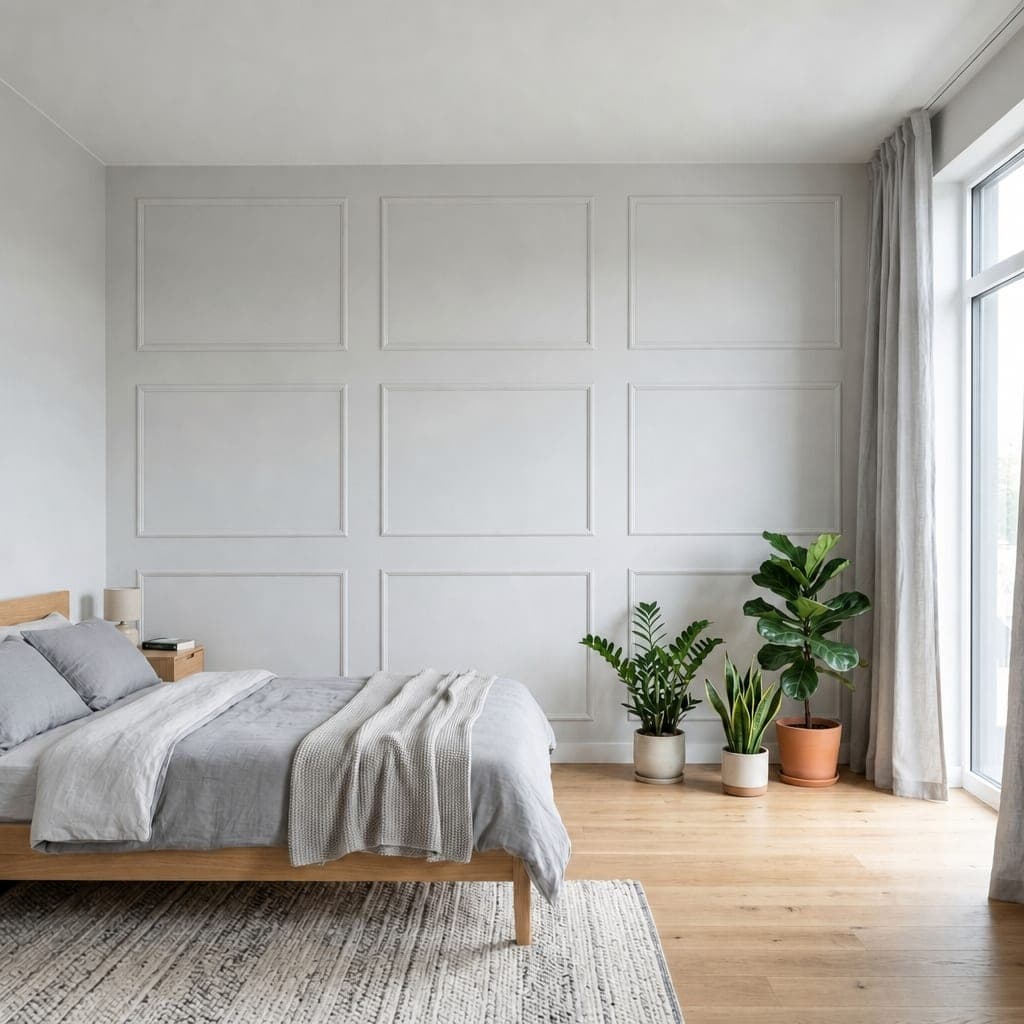
A simple grid of equal panels is the most modern of the classic layouts. In pale grey with slim moulding it reads as texture you notice second, not first, which is exactly right for a Scandi room built on oak, linen, and daylight.
Equal grids live or die on the maths: every panel identical, every gap identical, including the edges. Odd off-cuts at one end are what make DIY grids look homemade. Work the numbers out before you cut anything, or let the planner divide the wall for you and hand you the cut list.
5. Slim vertical panels for low ceilings
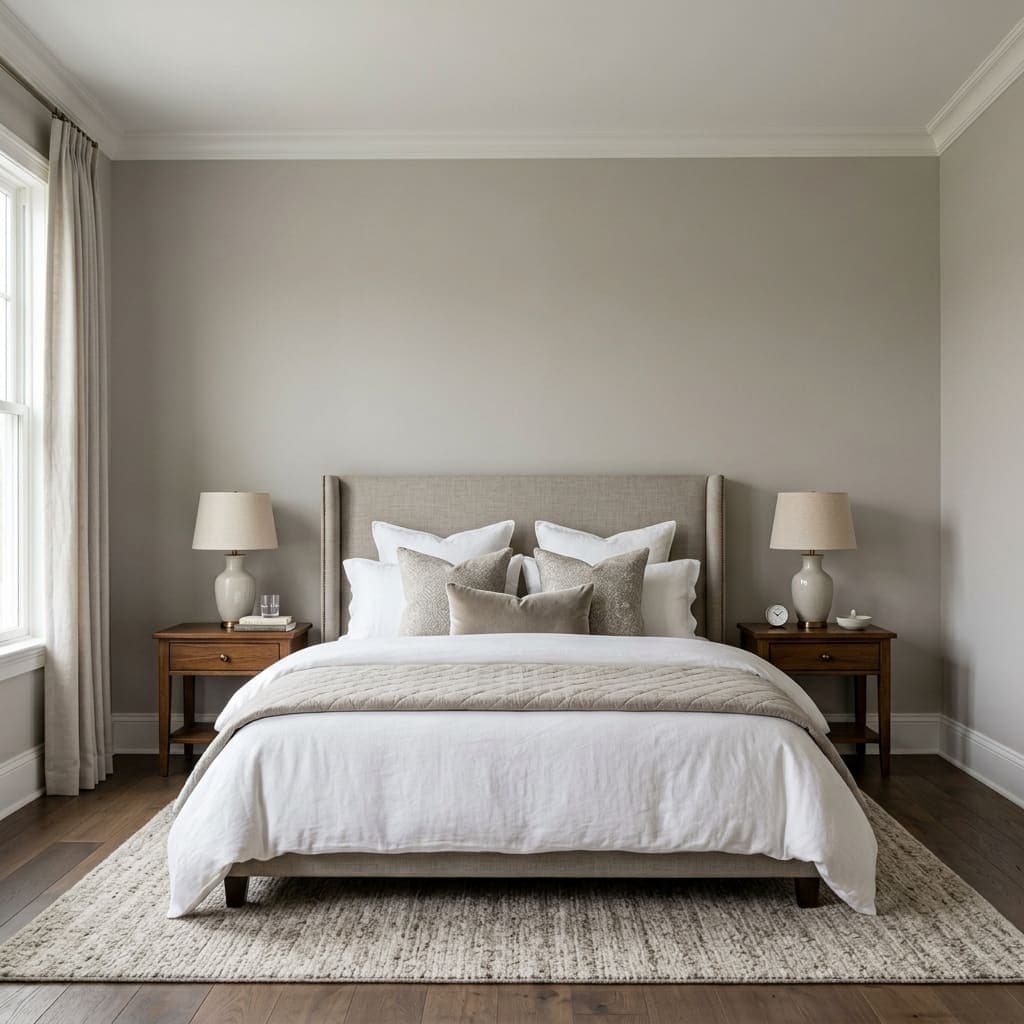
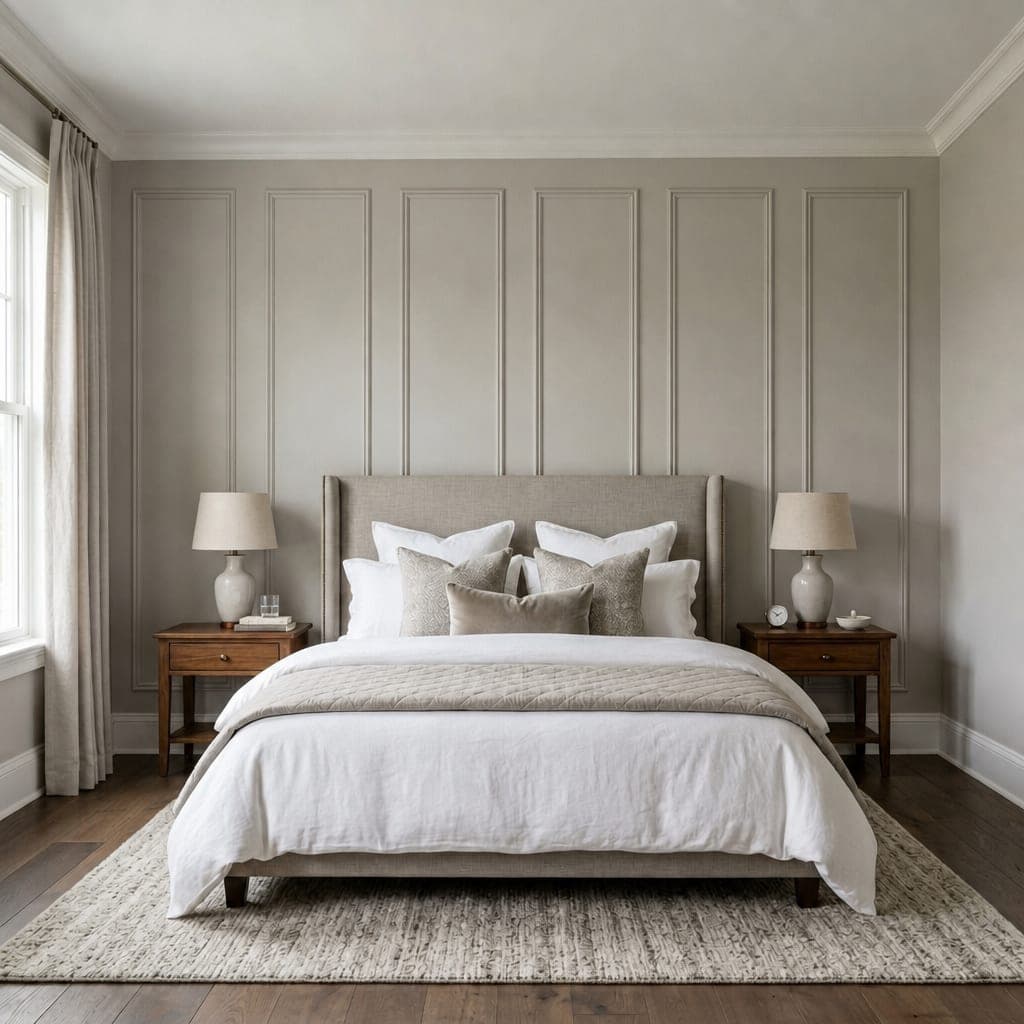
Every vertical line in a room is a small argument that the ceiling is higher than it is. Six slim panels make that argument six times. This is the layout to reach for in rooms that feel low or boxy: the narrow frames stretch the wall upward in a way wide panels cannot.
In a soft grey-on-grey scheme like this one the effect is elegant rather than striped. Symmetry matters more here than in any other layout, because the slim panels form a rhythm behind the bed; centre the middle gap or the middle panel on the bed and keep bedside lamps matched.
6. Victorian panelling with a frieze row
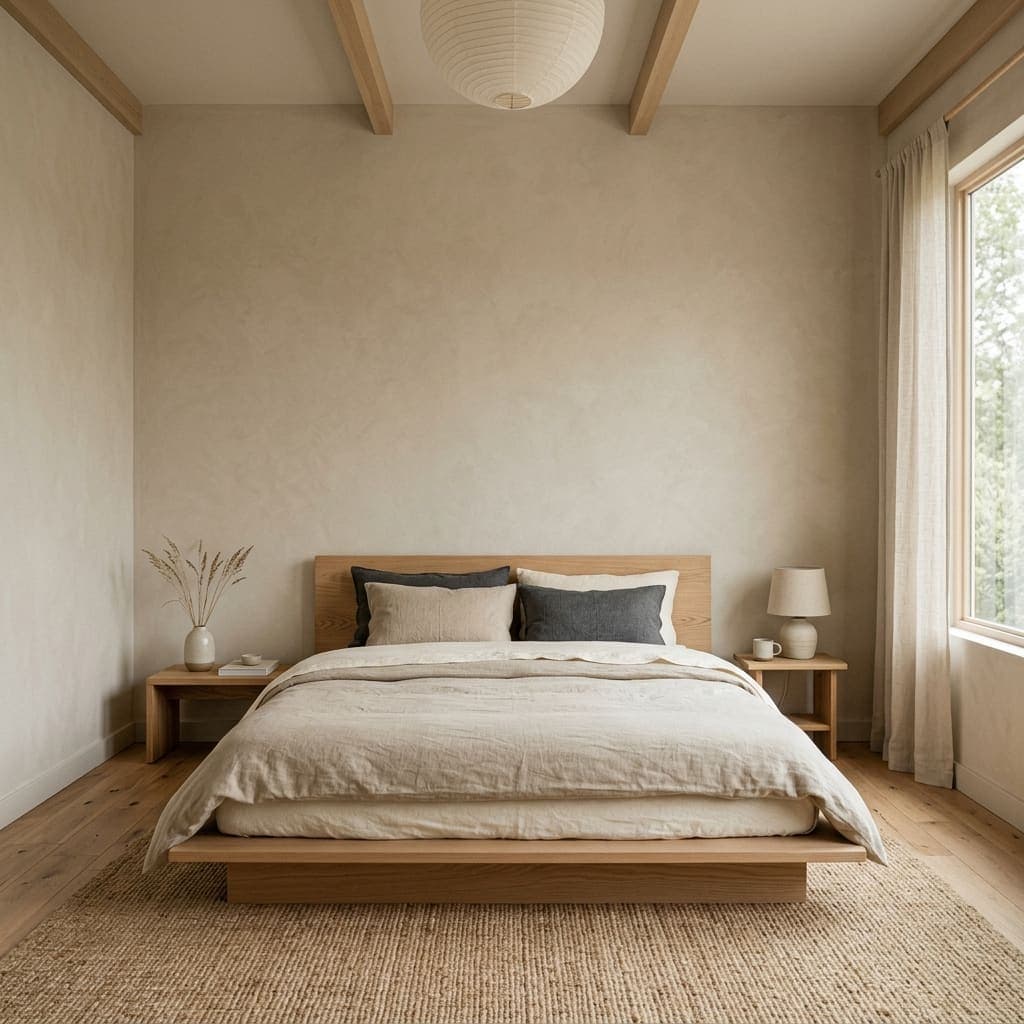
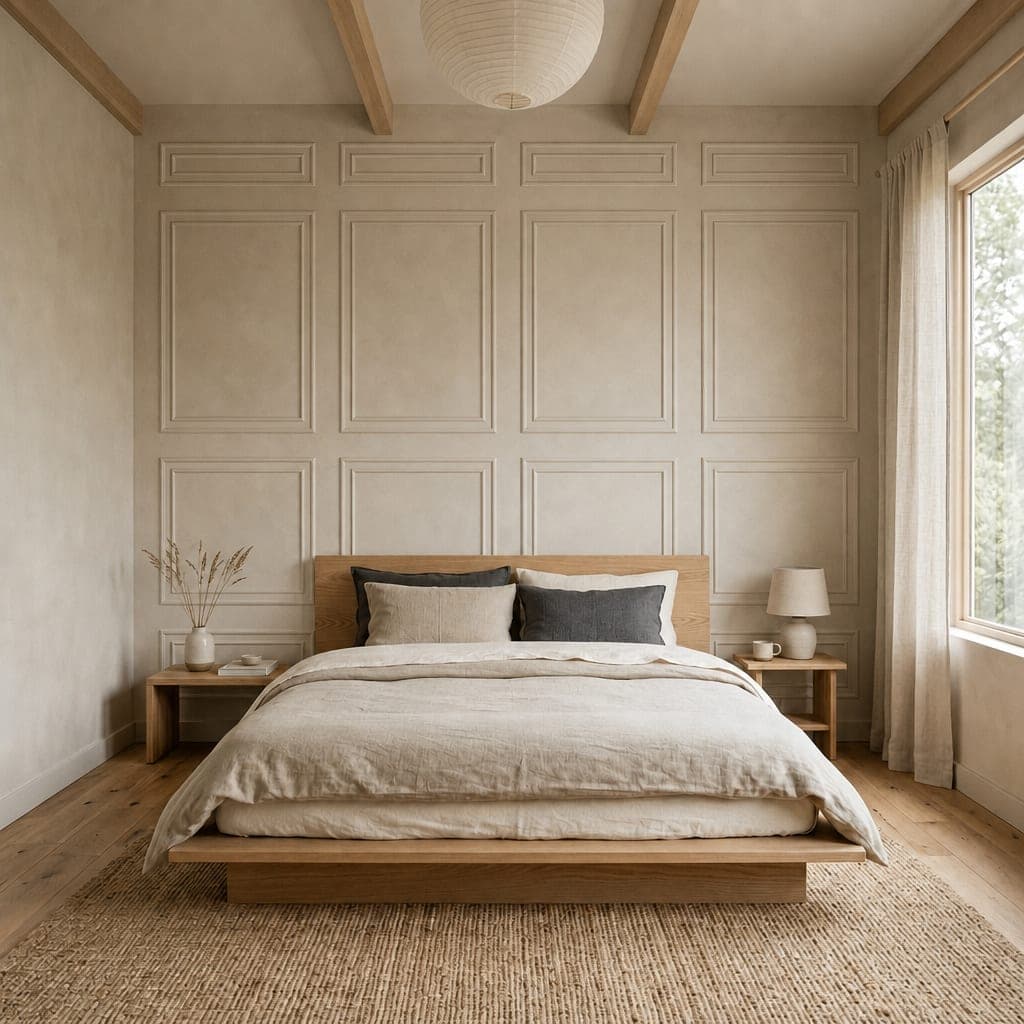
The giveaway detail of Victorian panelling is the frieze: a row of short panels running along the top of the tall ones, the way a picture rail once divided walls. That one extra tier adds craft and period depth that a plain grid cannot match, and it rewards a second look without shouting for the first one.
Rendered in limewash cream on a whole wall it is calm enough for a minimalist room, proof that period layouts do not need period clutter. This is the most involved build of the seven, so plan the tiers properly and label your cut list row by row.
7. A terracotta accent wall with minimal frames
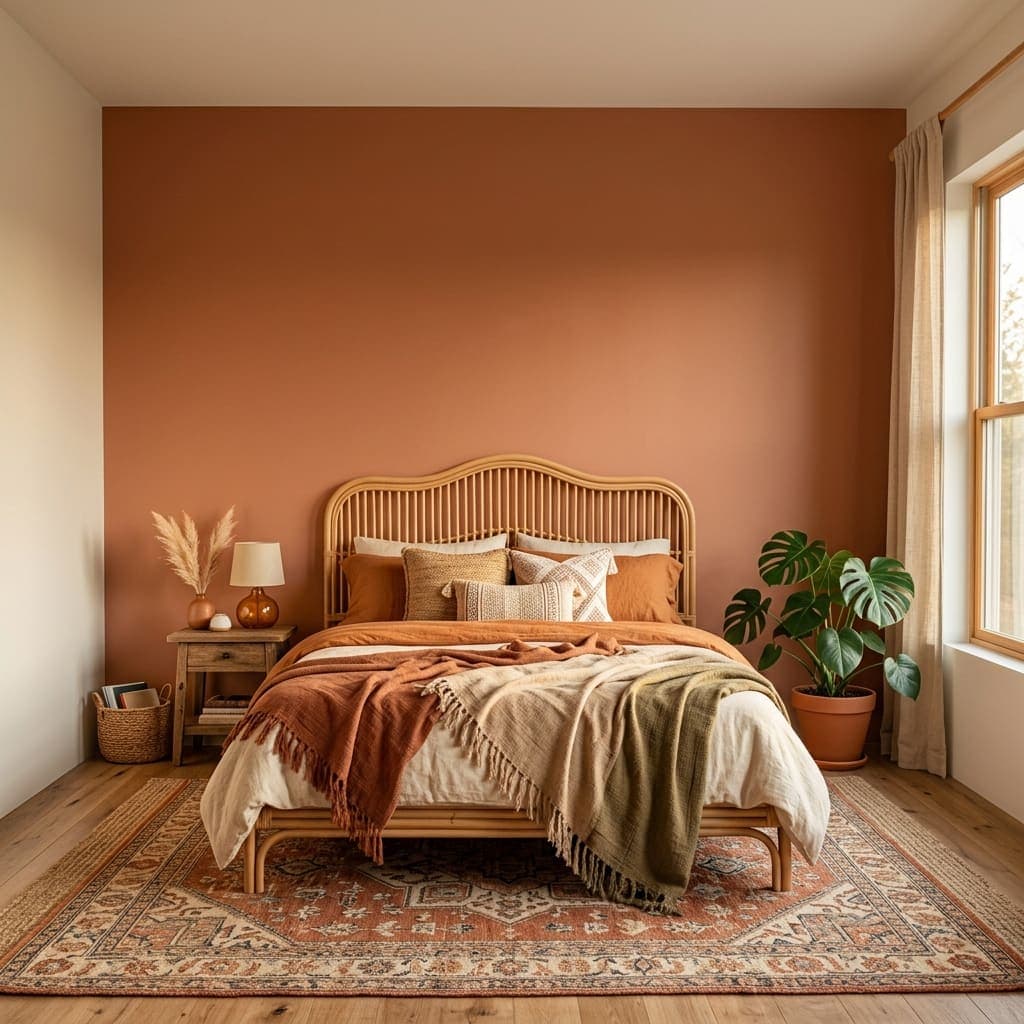
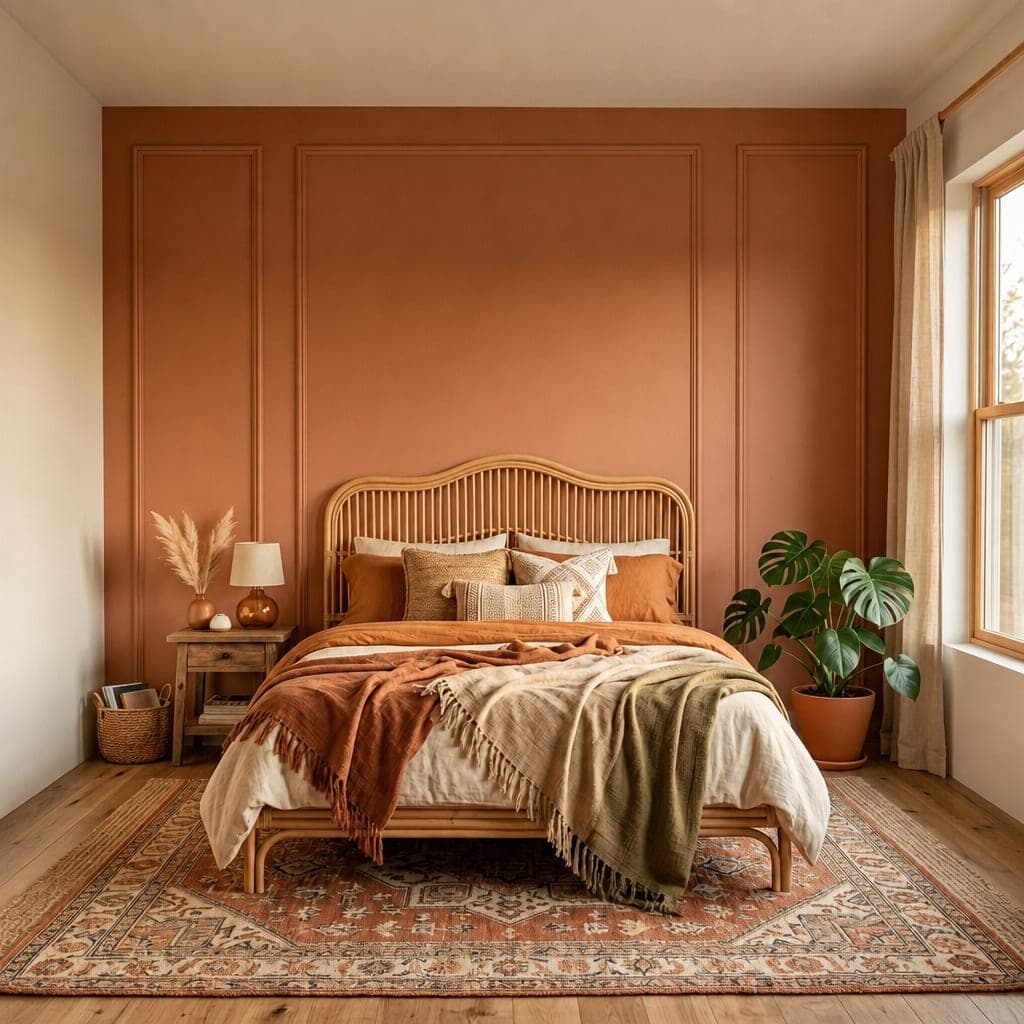
Sometimes the panelling should whisper and the colour should talk. Here the terracotta does the work, and a few minimal frames stop the painted wall from feeling flat. It is the least carpentry for the most transformation on this list: one wall, one strong colour, a few lengths of moulding.
The rule that holds it together is painting the moulding in the wall colour. Contrast frames on a bold wall turn boho into ski lodge very quickly. Match everything, keep the frames slim, and let texture from rattan, linen, and plants carry the rest of the room.
See these looks on a photo of your own bedroom
Every after photo on this page was generated from the bare-wall photo beside it using our wall preview tool. It works on your room too: upload a photo, and see panelling styles applied to your actual wall. Your first preview is free.
Try it on your bedroomGetting the layout right
Whichever look you choose, the same three rules decide whether it reads as designed or DIY. Keep every gap identical, including the ones at the edges of the wall. Centre the layout on the bed, not the wall, when the two disagree. And work out the numbers before you cut: a layout that is 15mm off looks fine on paper and wrong in a photo forever.
The panel spacing calculator does the arithmetic for a single row, and the free planner handles full layouts with rails and multiple rows, then produces a cut list you can take to the timber merchant.
What bedroom panelling costs
A single panelled bedroom wall is one of the cheaper transformations in decorating, since MDF moulding strips cost a few pounds per metre and the tools are basic. The real total depends on your wall size and layout density: slim verticals use far less timber than a Victorian build with a frieze row. For an accurate figure, the cost guide and calculator prices your exact wall with current UK and US material costs.
Frequently asked questions
How high should panelling be behind a bed?
For half-height panelling, aim for the rail to sit a hand's width above the headboard, which usually lands between 1000 and 1200mm from the floor. Lower and the bed hides the panelling; higher and the wall divides into two uneasy halves. Full-height panelling avoids the question entirely and makes low ceilings feel taller.
Should bedroom panelling be full height or half height?
Full height suits rooms where the panelled wall is the feature, especially behind the bed, and it flatters low ceilings. Half height suits smaller rooms and lighter schemes because the bare wall above keeps things airy. If you are unsure, preview both on your wall dimensions in the free planner before buying anything.
What colour should bedroom panelling be?
The safest and most current approach is one colour for wall and panelling alike, in a muted tone: warm neutrals, sage, soft grey, or a deeper colour like terracotta if the room can carry it. Painting the moulding the same colour as the wall lets the shapes read as texture. Contrast colours make the moulding itself the feature, which is a bolder, more traditional look.
Can you put wall panelling over wallpaper?
It is best not to. Adhesive grips the paper, not the wall, so the weight of the moulding relies on how well the old paste is holding. Strip the paper along the fixing lines at minimum, and ideally the whole wall, then fix the battens to bare plaster with grab adhesive and pins.
Do you need to remove skirting boards for wall panelling?
Usually not. Most bedroom panelling starts above the existing skirting, with the bottom rail sitting just on top of it, and this is the standard approach for the looks on this page. Removing skirting is only worth it when you want the panelling to run to the floor as one continuous piece.